Friday, August 15, 2008

September Sneak Peaks are up!!

SEPTEMBER MONTHLY KIT SNEAK PEEKS!!
I have to say, I'm so excited about the kits this month! These were my favorite lines that I saw at CHA....I just HAD to put them in kits! Which one is your favorite? Leave a comment and tell me which one is YOUR favorite!


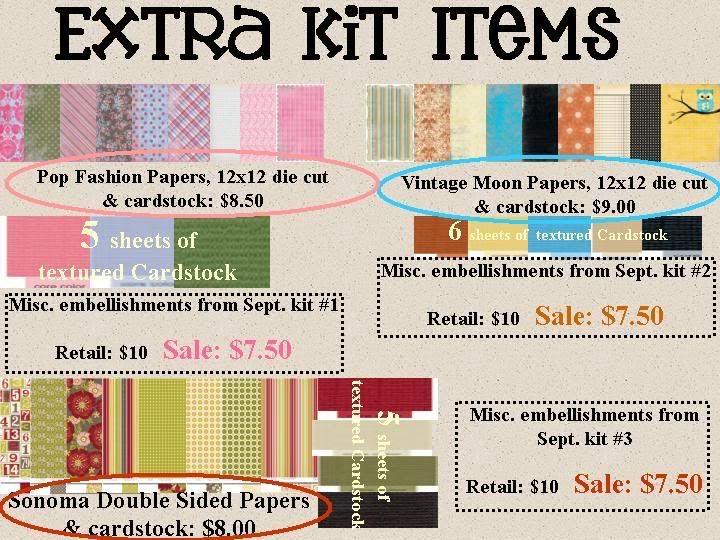
SEPT. KIT #1: Pink Paislee: Pop Fashion

  • This kit contains.....

  • 6 sheets Pop Fashion patterned paper
  • 2 sheets Jenni Bowlin patterned paper
  • 5 Sheets of Core'dinations textured cardstock
  • 1 12x12 scalloped Pop Fashion cardstock die cut
  • 1 pkg. Imaginesce rubons AND rhinestones--it has both!
  • 1 sheet Pink Paislee alphabet cardstock stickers
  • 1 pkg. Scenic Route crown chipboard
  • 1 pkg. Pop Fashion icon rubons
  • 1 pkg. Kaiser Craft bling: Adorable
  • 1 pkg. Jenni Bowlin journal cards: Spring Picnic
  • 1/2 pkg. Kaiser Craft flower rhinestones-pink
  • 1/2 pkg. Kaiser Craft flower rhinestones-blue
  • **ALL NEW**TTT Products: ~~misc transparency designed for Sept #1 kit~~ 1/2 sheet of *new*designs!
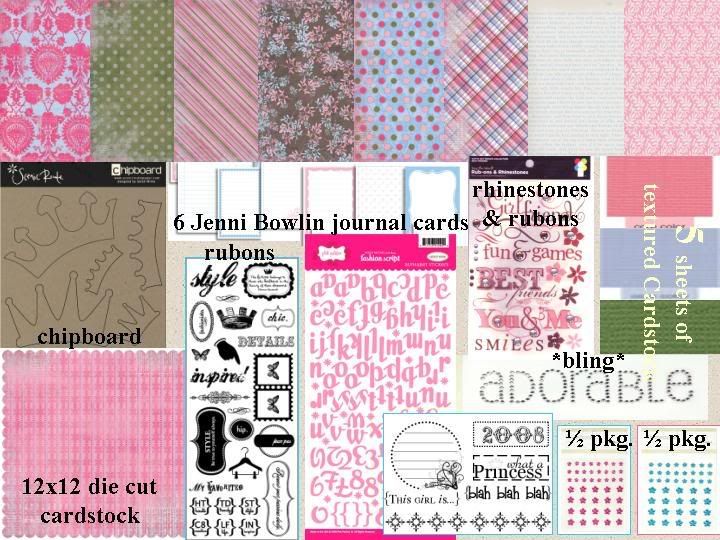
Add ons for Kit #1:


SEPT. KIT #2: Pink Paislee: Vintage Moon


This kit contains.....
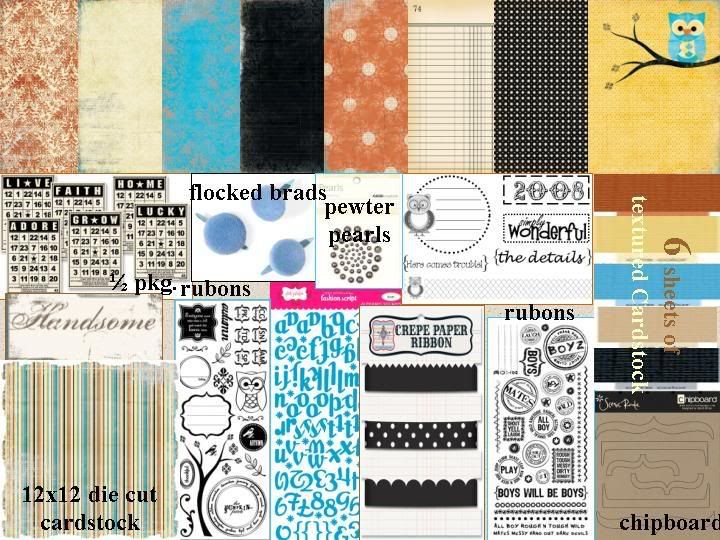
  • 6 sheets Vintage Moon patterned paper
  • 2 sheets Jenni Bowlin patterned paper
  • 6 Sheets of Core'dinations textured cardstock
  • 1 12x12 scalloped cardstock die cut
  • 1/2 pkg. Jenni Bowlin mini bingo cards
  • 1 sheet Pink Paislee alphabet cardstock stickers
  • 1 pkg. Scenic Route chipboard brackets
  • 1 pkg. Vintage Moon icon rubons
  • 1 pkg. Jenni Bowlin Crepe Paper Ribbon
  • 1 pkg. Kaiser Craft pearls: pewter


  • 1 MME transparency: Handsome
  • 1/2 pkg. Imaginesce blue flocked brads
  • 1 pkg. Kaiser Craft All Boy rubons
  • **ALL NEW**TTT Products: ~~misc transparency designed for Sept #2 kit~~ 1/2 sheet of *new*designs!

    September Kit #2 add ons:


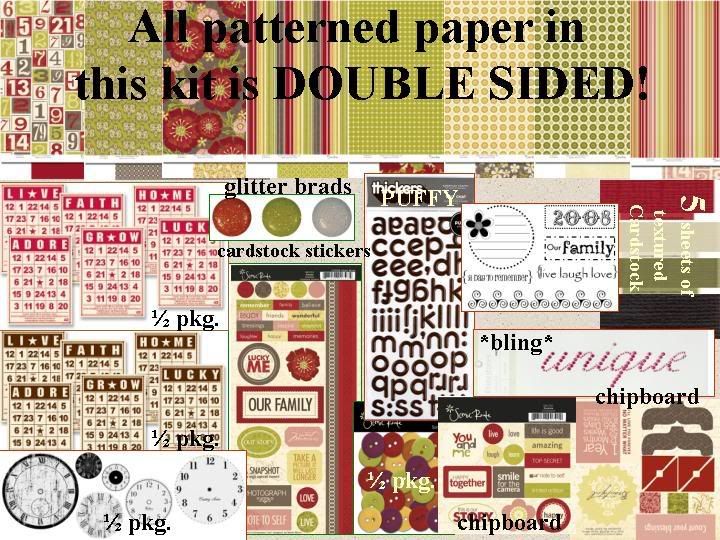
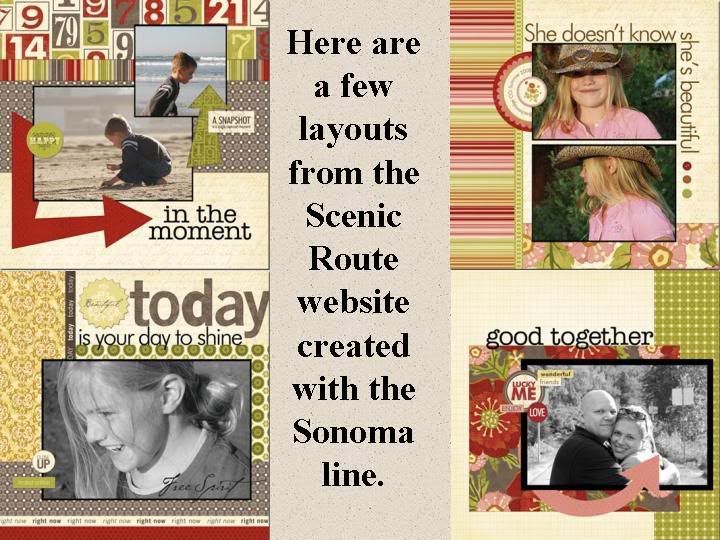
    SEPT. KIT #3: Scenic Route: Sonoma

    This kit contains:

  • 8 sheets Sonoma DOUBLE SIDED patterned paper
  • 5 Sheets of Core'dinations textured cardstock
  • 1/2 pkg. Imaginesce glitter brads 1 pkg. Happy Together Sonoma chipboard
  • 1 pkg. Kaiser Craft bling--Unique
  • 1/2 pkg. Jenni Bowlin mini bingo cards--red
  • 1/2 pkg. Jenni Bowlin mini bingo cards--brown
  • 1 pkg. American Crafts new PUFFY alphabet Thickers (brown)
  • 1 sheet Sonoma cardstock stickers
  • 1/2 pkg. Sonoma buttons (15-20)
  • 1/2 pkg. Heidi Swapp ghost clocks
  • **ALL NEW**TTT Products: ~~misc transparency designed for Sept #1 kit~~ 1/2 sheet of *new*designs!




Thursday, August 14, 2008

Technique: Creating Faux Scalloped Edges

Technique: Creating Faux Scalloped Edges
by former DT member: Marilyn McKnight

I love the cardstock and pattern paper that come with scalloped edges. Wouldn't it be great to be able to customize the scallop size and color to whatever project you are working on rather than buy the manufactured deco edged papers? My ancient deco scissors make scallops much too small and I haven't got my hands on one of those new border punches, but I do have a bunch of circle punches in a variety of sizes. These circle punches are great for creating faux scallops.
Here's how:

Step 1: punch out a bunch of circles in the size of your choice

Step 2: Ink edges if you like that inked look.


Step 3: Figure out where you want the scalloped edge to be on your project. Using a pencil, lightly draw a line. The punched out circles will be half on one side of the line and half on the other.

Step 4: Glue the circles to your paper using the pencil line as a guide (line will be straight down the middle)

Step 5: Attach your next layer of paper or picture on top of the circles, letting half the circle peek out from behind the paper/picture. Voila--a scalloped edge!


I used two different sized circle punches for the two cards shown below. Consider the scale of your card/layout when you select the circle punch that would work best.

Tuesday, August 12, 2008

Transparency Cards with Sketches!
Transparency Cards
by former DT member: Kimberly Archer
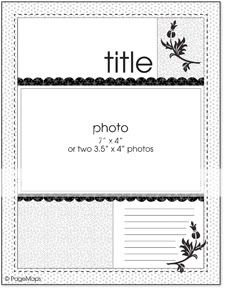
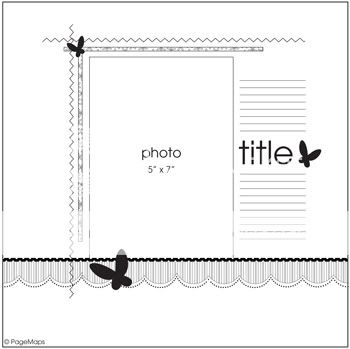
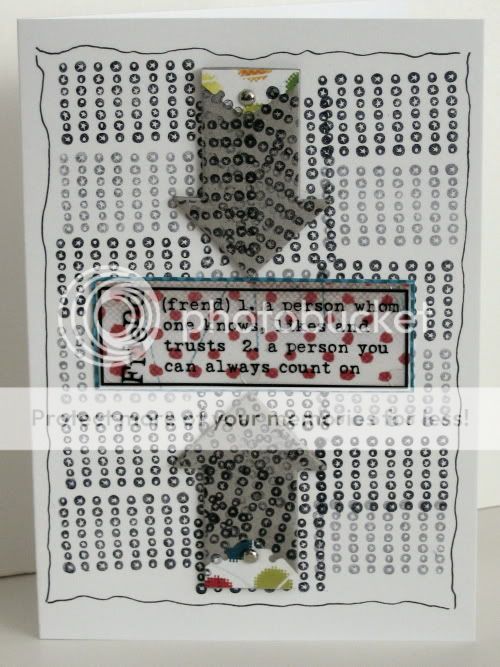
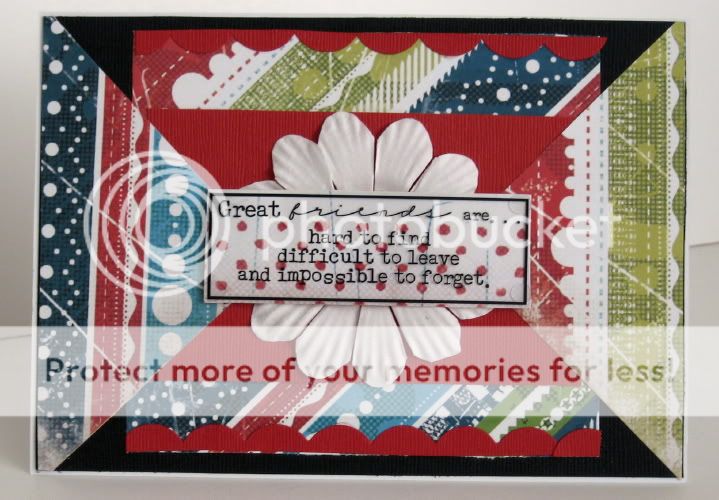
Hello there! While switching to the new blog format we had had some projects and designs just waiting to be shared. Today we plan to share with you some cards and sketches made by former DT Coordinator and designer Kimberly Archer. Her cards are always so fun and you will love what she did with the sketches. The sketches come from http://www.pagemaps.com/ in case you want to check them out or any other sketches by Becky Fleck. Thanks and have a great day!


Sketch one: Sketch one example by Kimberly:
Sketch two example by Kimblery:
Sketch two:

Thursday, August 7, 2008

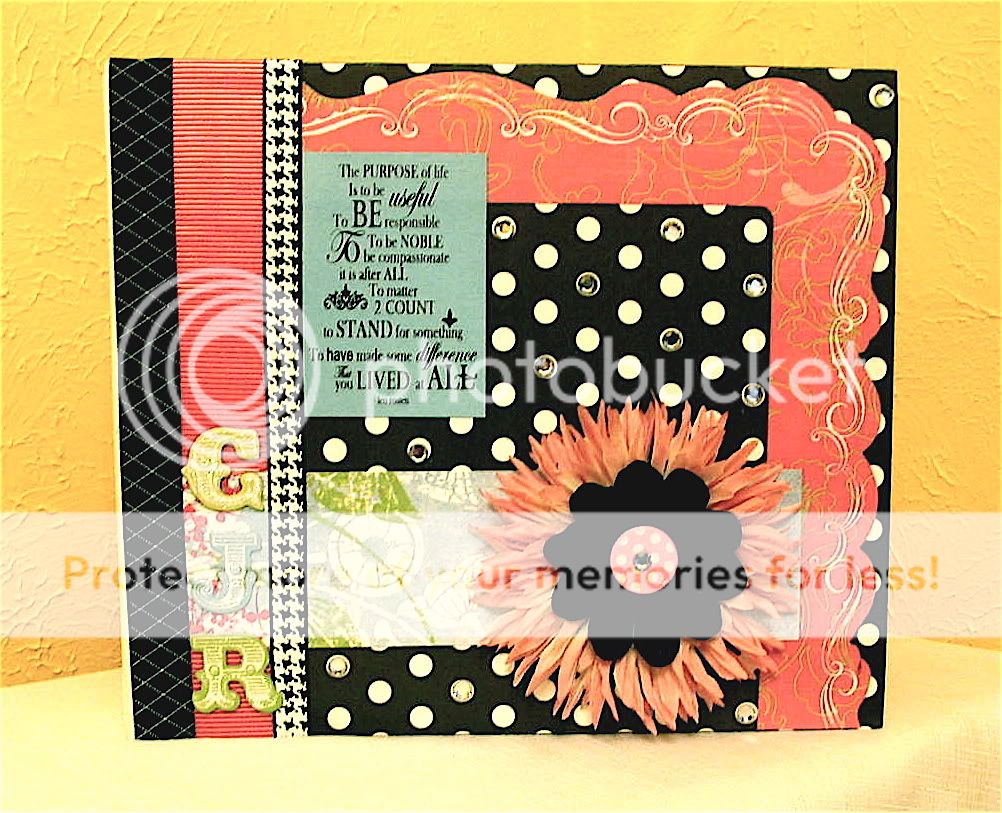
Project: Making a cute ORGANIZER

Project Idea: Organizer
by Chrystal Riddell

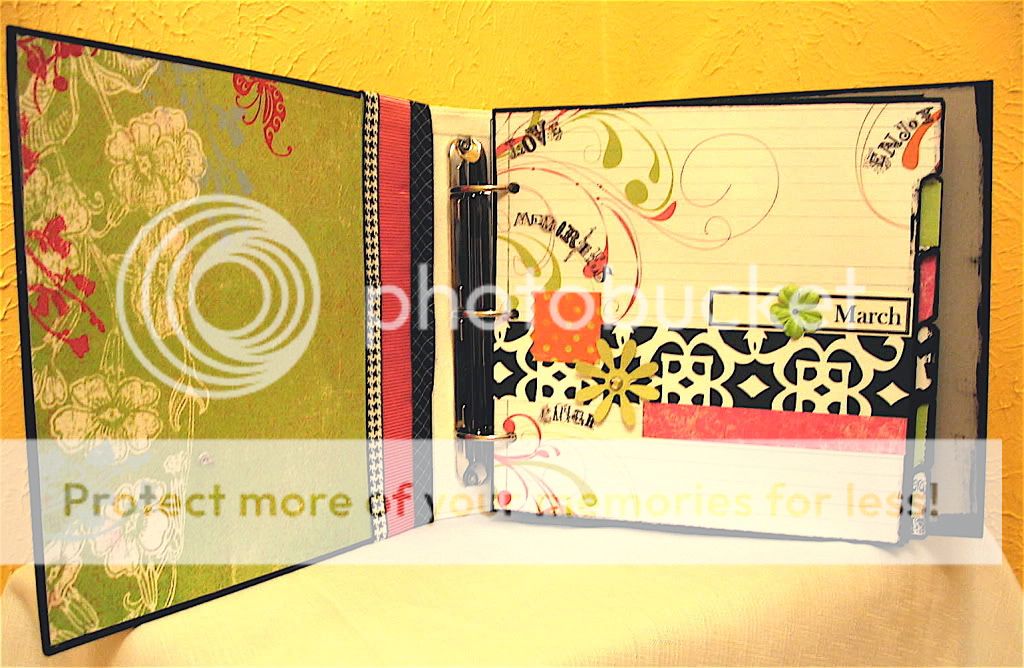
After searching and searching for the perfect organizer, I became convinced that it just didn't exist. This gave me a great excuse to be messy, but wasn't the answer. I decided to make my my own! What I really wanted was something that had not only a monthly calendar big enough to write on, but also space to add notes, papers, etc.

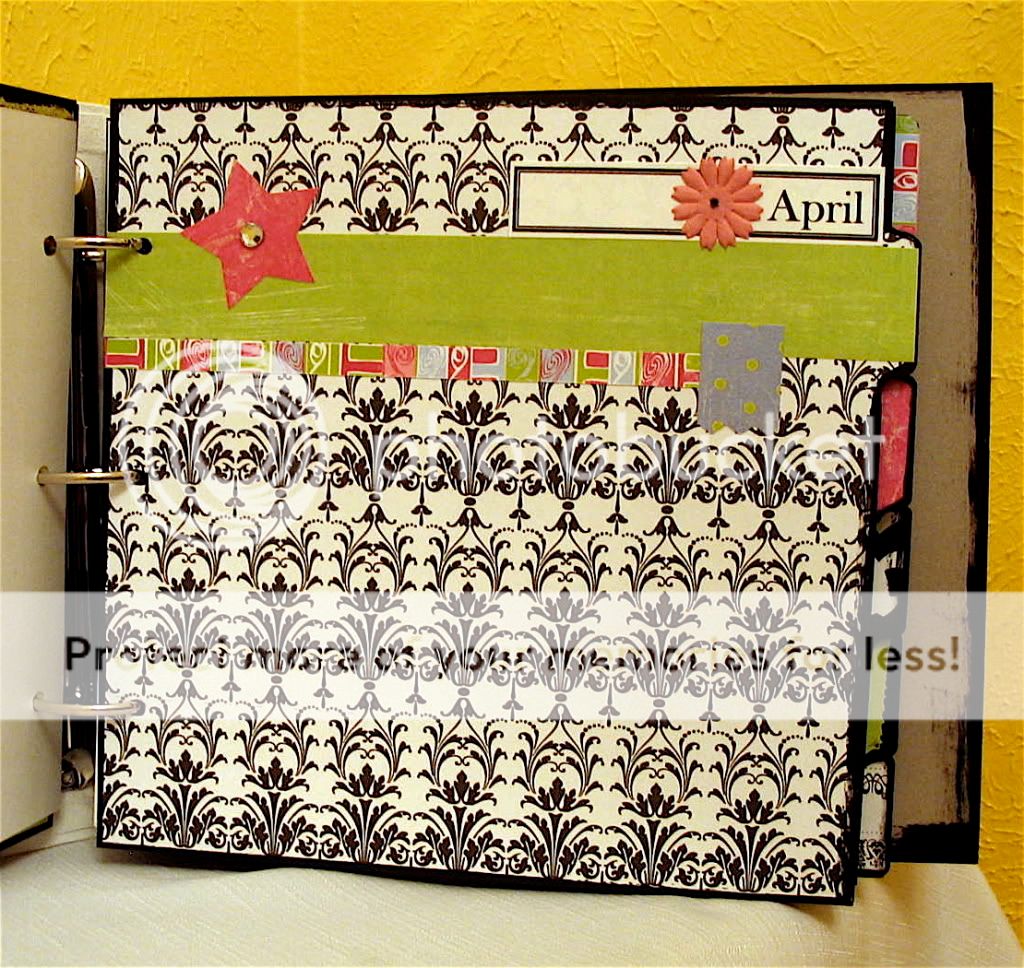
Although you could do this with anysort of ring-binder, I chose the Bo Bunny naked binder that comes with sturdy tabbed dividers. This organizer can be used year after year by simply printing out new calendars to fill in!


  • Choose your papers. The great thing about this project is that it's all yours. You choose the paper because you LIKE it! Not because it matches pictures, kids, or holidays! Pick something you will still like it 6 months. Classic black and white is always a good bet.

  • Embellish the front. When adhering the paper, Mod Podge is ideal because it seals and protects your book from dirt and grimy fingerprints. Make sureyou use MP all the way through, from the bottom to the top layer so your paper doesn't warp or wrinkle. Use heavy duty adhesives, such as Tacky Tape for ribbon and glue dots for heavy things. On my book, I used a Crop-A-Dile to punch a hole for the brad to attach the flowers. Choose a favorite quote that you love to inspire you.

  • Using one page as a template, cut all your divider papers at once. This will save time and actually help you finish the project! To stretch your supplies farther, use solid cardstock or acrylic paint for the back of the dividers. Use the scraps to create a simple, repetitive design throughout.

  • Label the months on each divider. I simply printed mine out using a textbox in Word, but you could also use stamps, stickers, or rub-ons. Embellish as desired.

  • Print out a calendar on cardstock for each month. Mat this on more cardstock for reinforcement, punch holes, and insert. You can find a variety of calendar templates on the internet. I used the "Calendar" option in Hotmail, which already has each month set up and numbered.

  • Add whatever else works for you! Next year, take out your calendars, save them for scrapbook reference and print out 2009 calendar pages!

SOME ADDITIONAL IDEAS:
*Punch holes in a manila envelope to save receipts.
*Create a pocket page for each child that could move from month to month to save school papers.
*Punch holes in a sports schedule.
*Add a page protector in each month for pictures or sketches you want to scrap.
*Put extra paper in each month for grocery lists.
*Keep a zippered pouch with some emergency "coffee or soda" change in it.

Tuesday, August 5, 2008

Transparency Tuesday!

Today is Transparency Tuesday!

Each month the TTT design team creates layouts, cards and other projects using TTT transparencies on them. They always do such a great job and it's great to see all the different ways that the transparencies can be used!!


Take a look at what they created:


Saturday, August 2, 2008

August Monthly Kit Contest Details

These are the details of the August monthly kit contest posted by Jen, TTT's Design Team Coordinator on the TTT message board...

It is the first month of our brand new Use Your Monthly Kit Contest and I am so excited about it. I hope you are too! We hope to provide inspiration to get you to pick up that new kit and get scrapping. The rules section has been posted so please make sure you refer to that for all the details.


You must use your August 08 kit to be eligible to enter.

You have until midnight PST on August 31st to enter.


So let's start this off with some sketch fun and inspiration. I have 4 sketches from http://www.pagemaps.com/ for you to choose from to use. 2 12x12, one 12x12 double page, and one 8.5 x11.


You can adapt these and use them however you would to fit the size and style you scrap. You can enter as many times as you would like. For this month, the design team will choose the winner by vote. Thanks and happy kit scrapping. If you have any questions, please email TTT (info@transparenttouches.com)


Monthly Kit Contest Rules

We are so excited to start bringing you a monthly kit contest for all current subscribers and one month kit purchasers. We hope that this will bring you inspiration and help you to find ideas to use your monthly kits.

Rules:
**Every month a new contest will be posted.
**You must use your current month's kit to enter.
**You have until the last day of the month at midnight PST to enter your kit creations. (Ex: Kit contest is posted Aug 2nd, you receive your kit Aug 10th...you have until Aug 31st to enter to be eligible using your current montly kit).
**One winner will be chosen and will receive a prize pack worth $10 that will be shipped with your next kit.
**If you are a one time kit purchaser, your prize pack will be mailed to you within 2 weeks. It will contain fun goodies...we promise.
**Winners will be chosen either by random drawing, by the DT, by me and Monica, or by some other means. We will announce each month how a winner will be chosen.
**Depending on the contest, you may enter more than once. Those details will be provided each month so you know if it's one per person.
**Your designs should be posted in the user gallery in the Monthly Use Your Kit Contest section under the current month.
Thanks and have fun creating!

Friday, August 1, 2008

It's REVEAL DAY!!! August Monthly Kit layouts

REVEAL DAY...WHOOHOO :)
I always look forward to the first day of the month each month because it's TTT's REVEAL DAY! The design team did a fabulous job this month creating layouts with one of the monthly kits. Great job ladies~

Remember, you can go to the TTT User gallery to see all the kit reveals from each month and the TTT gallery also has an album for each DT member which showcases their layouts too. Happy scrapping everyone!

Here's what Chrissy created with August kit #1


Here's what Lindsey created with August kit #2:


Here's what Carrie created with August kit #2:


Here's what Nathalie created with August kit #3:


Here's what Chrystal created with August kit #3