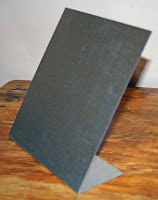
1 magnetic board (I found mine at a local craft store)

patterned paper/ cardstock
large buttons
magnets
embellishments (rub-ons)
adhesive
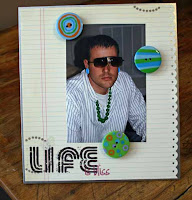
First, cut a piece of patterned paper/ cardstock to fit the front of your magnetic board. Add a decorative touch by using a border punch on one side. Adhere the paper to the front of the board.
Next, add rub-ons or other embellishments to your paper for a personal touch. I added rub-ons from a left over TTT kit!
Next, adhere small magnets to the back of large buttons or other large embellishments.

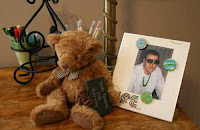
That's all!! Now add a picture, a sketch you are using for a current page, a to-do list, or any other item to your board. Use the large button magnets to hold it in place! Finally, display your board on your scrapbooking table!


2 comments:
Cool project Chrissy! I love those big buttons/magnets !!!
Such a fun project!! Great instructions and easy to follow!
Post a Comment