The sketch:

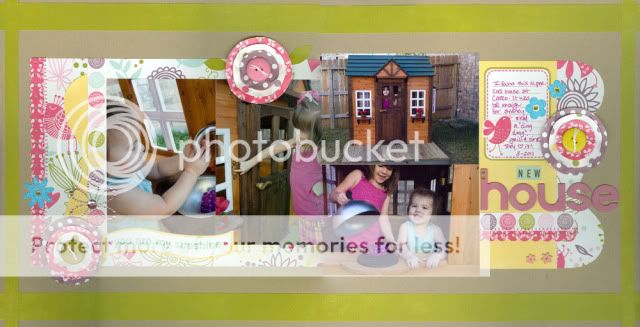
Chrissy's take:

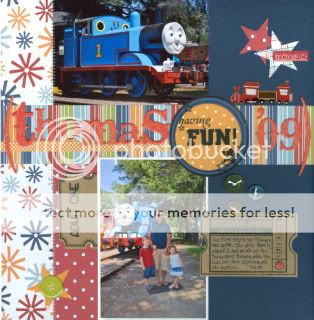
Nathalie's take:

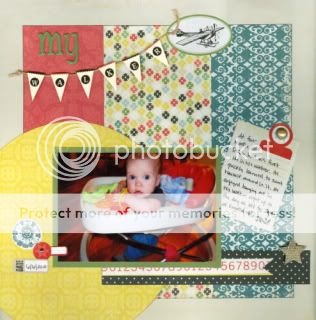
Carrie's take:


 Easter is just around the corner. Why not get some 8 1/2 x 11 TTT transparencies to create instant titles and journaling:


 2. On the side that you want to be the inside of the card, score at the 4-inch and 8-inch mark vertically.
 3. Fold the left-most portion over the middle portion. On the right-most portion, I've drawn a line here to indicate where I will be cutting (from the top-left corner to the bottom-right).
 4. Cut as indicated. Apply glue to the bottom of the triangle only.
 5. Fold the triangle over the middle section (lift up the other side first) and press to adhere the glue, creating the pocket.
 6. Embellish as desired.
 7. Fill pocket!
 This card was made with TTT May kit 2010 #1.
 MAY kit 2010 #3:
 APRIL kit 2010 #1:
 Basic grey Marakech:
 Basic Grey Marakech:
 AUG kit 2009 #1:
 Add a scallop border to the bottom embellished with Stickles underneath other strips of paper.
 Add a strip of paper to the bottom, followed by a large scallops strip, add a strip of ribbon, stitching. Embellish with a stitched scallop border on the scallop strip and add dots of Stickles to the edge of the scallop piece. Embellish those with sequins or rhinestones in the middle.
 The finished page:
 Here is the finished page:
 Here is the finished page: