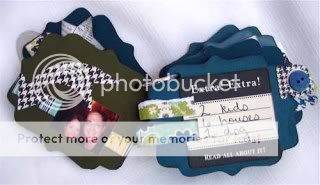
1. When starting out a mini-album with a uniform shape, trace, cut, ink, and adhere all the background pages first. This will save "thinking" time that you'll need for the goodies!
2. Ok. I did plan a little. I had to see how many photos I had and how many pages I had. That left me 2 spots left over to journal on.
3. I started with the cover. I never start with the cover. Why did I do this? So I couldn't change my mind, obsess over the title, then change it again. This sheer ticket was cute, it fit the theme, I stuck it down. Done!
4. I then embellished and added pictures, each page at a time. (With Zip Dry paper glue, so I couldn't rearrange stuff.) A paper scrap here, a die-cut there. Don't think about it. Just do it! Making this album helped me realize that I could have spent days on this, and it probably would have turned out the same way.
5. Use your own handwriting. I resisted the urge to go to the computer, where I would have gotten side-tracked, probably on the TT message board. This easily saved an hour :lol:
Tip: As a fun way to add some chunkiness to this album, I popped up the photos with foam squares.


4 comments:
This is AWESOME!!! I love it : )
This is so cute! Great idea, love it!
Great Job. Too cute!
I love this mini book - the color combination is one of my favorites! TFS!
Post a Comment