1. Open the pictures you want to make into wallet prints in the editor (press Ctrl-I in organizer).
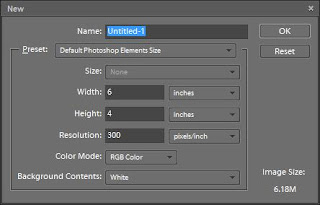
2. Open a new file in the Editor (Ctrl-N). These are the options I normally go with (6"x4", 300 pixels/inch):
 3. Drag 4 files onto your blank file. Don't worry about putting them exactly where they need go yet. Notice that each separate photo is a separate layer in the layers palette (bottom-right). You may also want to close each file once it has been copied onto the new file, this will help your computer run faster if you have low RAM:
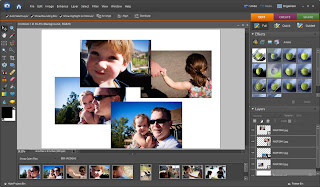 4. Drag each photo into your four corners (it should "snap" to each corner). Then go to menu, and under View, select Rulers. Notice this brings up a horizontal and vertical ruler above and to the left of your file.
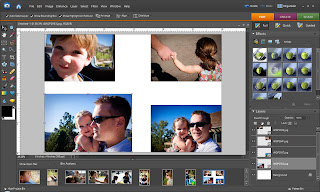 5. Now using the ruler as your guide, select each photo and then drag the innermost corner until the picture measures approx. 3x2. I leave a small space between each photo to make cutting them apart a bit easier. After you're done, go to Layer, and select Flatten. Notice now that this flattens all layers into one in your Layers palette:
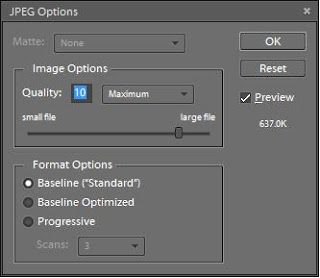
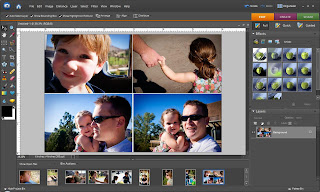 6. Now just save the file. I always select 10 as my quality which doesn't reduce or increase the actual pixel size of the photo. You can see how big your file will be to the right, for printing a 4x6 you probably want at least 200K.
There you have it! I now have 12 wallet prints for the price of 3 4x6 prints!


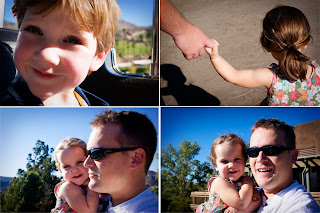
And here are some examples-
Mini-album:
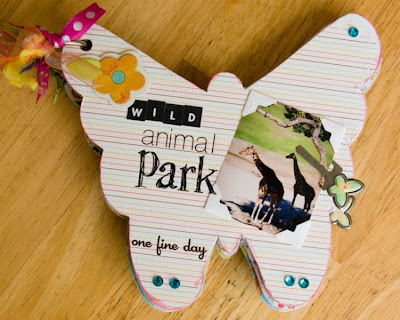
Layout:

I made these wallets in a 5x7 file so that they are slightly larger than the 4x6 ones:


1 comment:
I always like this technique!
Post a Comment